A manual camera settings cheat sheet is a quick-reference guide helping photographers master manual mode. It simplifies understanding aperture, shutter speed, and ISO for perfect exposures, making it ideal for all skill levels to enhance their photography skills effectively.
What is a Manual Camera Settings Cheat Sheet?
A manual camera settings cheat sheet is a concise, printable guide designed to help photographers master manual mode. It provides quick references for understanding aperture, shutter speed, and ISO, along with tips for balancing the exposure triangle. These sheets often include practical examples, such as recommended settings for portraits, landscapes, or low-light conditions, making them invaluable for photographers of all skill levels to improve their craft efficiently.
Why Use a Manual Camera Settings Cheat Sheet?
A manual camera settings cheat sheet simplifies the learning process, offering a quick-reference guide for mastering manual mode. It provides easy-to-follow instructions and practical tips, helping photographers understand how to balance aperture, shutter speed, and ISO. This tool is especially useful for beginners, enabling them to confidently experiment with manual settings and achieve professional-looking results without extensive trial and error, making it an essential resource for improving photography skills efficiently.
Benefits of Learning Manual Mode
Mastering manual mode unlocks creative control, enabling photographers to tailor settings to their vision. It allows for precise adjustments of aperture, shutter speed, and ISO, ensuring optimal exposures in various lighting conditions. This skill enhances artistic expression, reduces reliance on auto modes, and improves overall image quality, making it a valuable asset for photographers aiming to produce professional-grade work consistently and efficiently.
The Exposure Triangle
The Exposure Triangle is the foundation of photography, involving aperture, shutter speed, and ISO. Balancing these elements ensures proper exposure and creative control over images.
Understanding Aperture
Aperture is a fundamental component of the Exposure Triangle, controlling the amount of light entering the lens. Measured in f-stops (e.g., f/2.8 or f/16), a lower f-stop means a larger aperture, allowing more light and creating a shallower depth of field. This is ideal for portraits to blur backgrounds. Conversely, a higher f-stop results in a smaller aperture, less light, and a deeper depth of field, perfect for landscapes where sharpness is desired throughout the image.
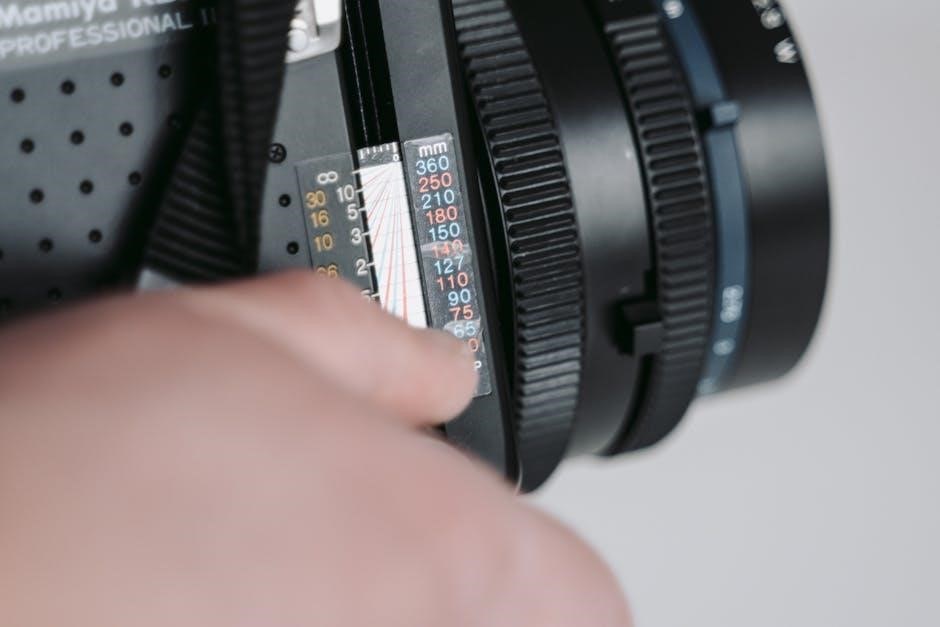
Mastering Shutter Speed
Shutter speed determines how long the camera’s shutter remains open, controlling light exposure and motion capture. Faster speeds (e.g., 1/1000th of a second) freeze action, while slower speeds (e.g., 1 second) create blur, adding artistic effects. Neutral speeds (e.g., 1/125th) balance sharpness and motion. Adjusting shutter speed helps achieve the desired visual style, from crisp portraits to dynamic landscapes, making it a key element in the Exposure Triangle for mastering manual mode photography effectively.
ISO Explained
ISO (International Organization for Standardization) regulates the camera’s light sensitivity. Lower ISOs (100-400) are ideal for bright lighting, reducing noise, while higher ISOs (6400-51200) are used in low-light conditions but may introduce grain. Balancing ISO with aperture and shutter speed ensures optimal exposure, maintaining image quality across various lighting scenarios for professional results in manual mode photography.
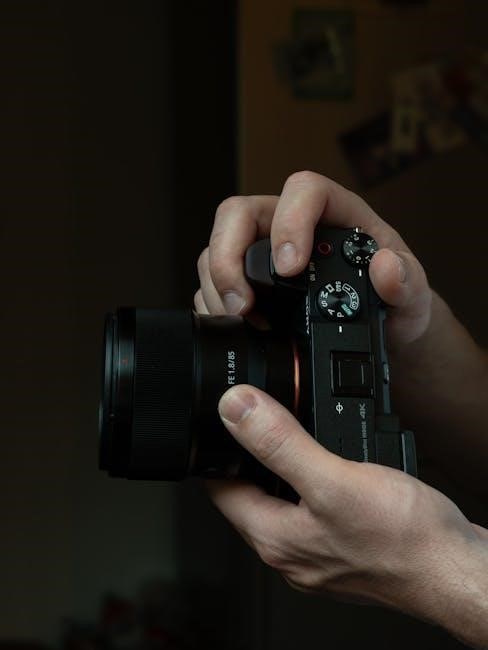
Camera Shooting Modes
Camera shooting modes, from Auto to Manual, determine control over settings like aperture, shutter speed, and ISO, enabling photographers to customize their shooting experience for desired results.
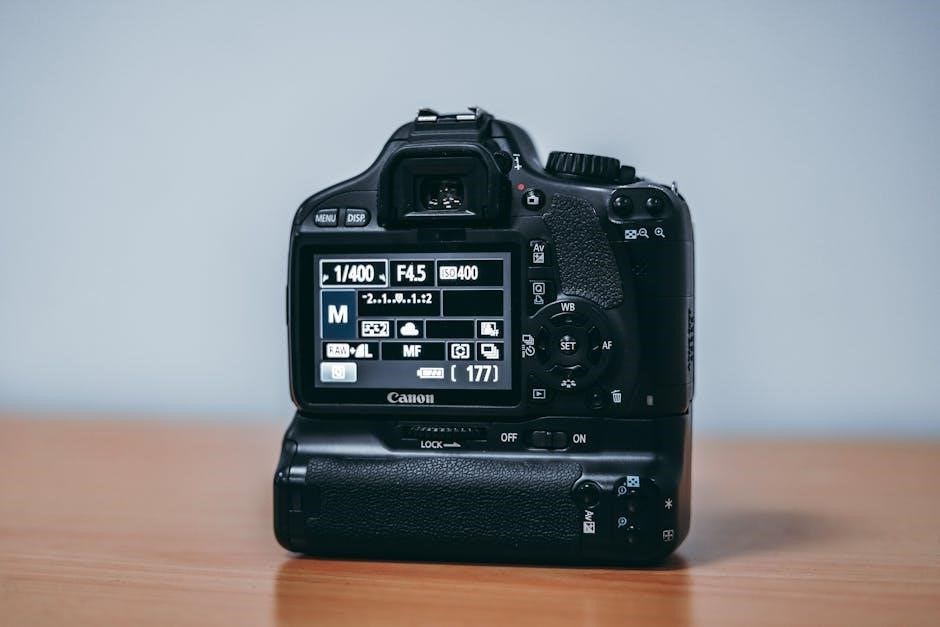
Manual Mode (M)
Manual mode (M) offers full control over aperture, shutter speed, and ISO, allowing photographers to tailor settings for creative or technical needs. It’s ideal for mastering the exposure triangle and achieving precise results; With practice, manual mode empowers photographers to capture images exactly as envisioned, making it a key skill for professionals and enthusiasts alike.
Aperture Priority Mode (A/Av)
Aperture Priority Mode (A/Av) allows you to set the aperture, while the camera automatically adjusts the shutter speed for proper exposure. This mode is ideal for controlling depth of field, making it perfect for portraits and landscapes. By balancing aperture and shutter speed, you can achieve creative results without manual adjustments, offering flexibility and simplicity for photographers seeking precise control over their images while streamlining the shooting process.
Common Mistakes in Manual Mode
Common mistakes include overexposure, underexposure, and ignoring the exposure triangle. Forgetting to adjust ISO or incorrectly setting white balance can also degrade image quality and cause frustration.
Overexposure and Underexposure
Overexposure occurs when too much light enters the camera, resulting in washed-out highlights and loss of detail. Underexposure happens when insufficient light is captured, leading to dark, murky images. Both issues stem from improper balance of aperture, shutter speed, and ISO. A manual camera settings cheat sheet helps photographers avoid these common mistakes by providing guidelines for optimal exposure in various lighting conditions, ensuring well-balanced and vibrant photos every time.
Ignoring the Exposure Triangle
Ignoring the exposure triangle—aperture, shutter speed, and ISO—often leads to poorly balanced photos. Without understanding how these elements interact, photographers risk overexposure, underexposure, or unwanted motion blur. A manual camera settings cheat sheet provides clear guidelines, helping shooters adjust these variables effectively to achieve desired results and enhance image quality in various lighting scenarios.
Troubleshooting in Manual Mode
Troubleshooting in manual mode involves identifying issues like incorrect exposure or focus. A cheat sheet helps pinpoint problems and provides solutions, ensuring better photo outcomes consistently.
Fixing Blurry Images
Blurry images often result from incorrect shutter speed or focus. A cheat sheet guides adjusting shutter speed for motion, using manual focus, and stabilizing the camera to ensure sharp, clear photos every time, enhancing overall image quality effectively.
Adjusting for Low Light
In low-light conditions, a cheat sheet recommends increasing ISO, using wider apertures, and slowing shutter speeds to maximize light capture. Balancing these settings prevents noise and blur, ensuring well-exposed images even in challenging lighting scenarios with minimal effort and optimal results every time.
White Balance in Manual Mode
Mastering white balance in manual mode ensures accurate color representation. A cheat sheet helps photographers understand and adjust settings to match lighting conditions for natural-looking images effortlessly always.
Understanding White Balance
White balance adjusts the color temperature of images to ensure objects appear natural. A manual camera cheat sheet explains how to set it manually, matching lighting conditions like daylight, fluorescent, or tungsten. This ensures accurate colors, preventing unwanted tones. Proper white balance enhances realism, making it a crucial element in achieving professional-looking photos with minimal post-editing needed.
Setting White Balance Manually
Manual white balance allows precise control over color temperature. A cheat sheet guide explains how to use presets or custom settings, ensuring accurate tones. By adjusting Kelvin values or using a gray card, photographers can capture natural colors. This technique is especially useful in mixed lighting conditions, preventing unwanted casts and enhancing image quality for professional results.
When to Use Manual Mode
Use manual mode for landscapes, portraits, low-light conditions, and creative control. It offers flexibility in aperture, shutter speed, and ISO to capture unique scenes effectively.
Landscapes and Scenery
Manual mode excels for capturing landscapes, allowing precise control over depth of field and light. Use a small aperture (high f-stop) to keep the entire scene sharp, ensuring details in both foreground and background are clear. Adjust shutter speed to freeze or blur moving elements like water or clouds. Lower ISO settings minimize noise, resulting in crisp, vibrant images that showcase the natural beauty of your surroundings effectively.
Portraits
Manual mode is ideal for portraits, offering precise control over depth of field and subject focus. Use a wide aperture (low f-stop) to blur backgrounds, isolating your subject. Adjust shutter speed to freeze or soften expressions, and keep ISO low to minimize noise for sharp, natural-looking skin tones. White balance can also be fine-tuned for accurate skin colors, ensuring professional-quality portraits with ease and creativity.
Low Light Conditions
In low light, manual mode allows photographers to balance exposure effectively. A wider aperture (lower f-stop) lets more light in, while a slower shutter speed captures available light. However, using a tripod is essential to avoid blur. Raising the ISO can brighten images but may introduce noise. Adjusting white balance ensures accurate colors, and using manual focus helps achieve sharpness in dim conditions. These techniques help capture clear, well-exposed images even in challenging lighting scenarios with precision and control.
Creating Your Own Cheat Sheet
Include key camera settings, exposure variables, and practical tips. Organize clearly with visuals for quick reference, ensuring it’s tailored to your photography style and needs effectively.
What to Include
- Essential camera settings: aperture, shutter speed, and ISO.
- Exposure triangle explanation and balancing tips.
- Common shooting modes and their uses.
- White balance settings and file formats.
- Checklists for pre-shot preparations and troubleshooting.
- Visual guides for understanding depth of field and motion capture.
- Space for personal notes and customization.
How to Organize
Organize your cheat sheet logically, grouping related settings together, such as aperture, shutter speed, and ISO. Use a clear visual hierarchy with headings, bullet points, and color coding to enhance readability. Prioritize frequently used information and include quick-reference charts or diagrams. Dedicate sections for specific scenarios, like portraits or landscapes, and add examples for clarity. Ensure the layout is clean and easy to navigate, making it a practical tool for quick adjustments during shoots.
Downloading and Printing the Cheat Sheet
Access the manual camera settings cheat sheet as a free PDF download. Print it on durable cardstock and laminate it for easy reference during photo shoots anytime.
Steps to Download
To download the manual camera settings cheat sheet, visit the provider’s website and locate the PDF link. Click the download button, select a save location, and wait for the file to transfer. Ensure you have a PDF reader installed to view it. Some resources may require signing up or verifying your email. Once downloaded, you can print it for easy access or save it to your device for future reference while shooting photos.
Printing Tips
For optimal results, print the manual camera settings cheat sheet on high-quality paper or cardstock for durability. Use a printer with good resolution to ensure clarity. Consider laminating the sheet for protection against moisture and wear. Bind or fold it compactly for easy carrying. Choose a size that fits your needs, such as letter or A4, and ensure the text is legible. Store it in an accessible place, like your camera bag, for quick reference during photo shoots.
Mastery of manual camera settings is achievable with practice and the right tools. A cheat sheet simplifies learning, helping photographers confidently capture stunning images using the exposure triangle effectively always.
Final Tips for Mastering Manual Mode
Consistently practice using your camera’s manual settings to build confidence. Start with aperture priority and gradually transition to full manual mode. Always review your images’ histograms to ensure proper exposure. Keep your ISO low in bright conditions and adjust white balance for accurate colors. Experiment with different techniques and refer to your cheat sheet for quick guidance. Mastery takes time, so stay patient and persistent in refining your skills.
Additional Resources
Explore free downloadable PDFs like the Manual Camera Settings Cheat Sheet from Audrey Ann or the Photography Cheat Sheet by The Global Wizards. These resources offer practical tips and infographics to enhance your photography skills. Websites like audreycaroline.com and theglobalwizards.com provide comprehensive guides on mastering manual mode, aperture, shutter speed, and ISO. Utilize these tools to refine your techniques and capture stunning images with confidence and precision.